I'm sure you've heard all the hype about this LESS and SASS business, and maybe you've even marked it up on your to-do list, but if you're reading this you've probably put it off until now where you face writing a LOT of fairly complicated cross-browser styling to account for different 'themes' in some application which can be very cumbersome and time consuming when using traditional css. No need for all the stress, SASS handles it all for you. In this tutorial we'll focus on getting your environment set up and cover the basic commands you'll need to run and use sass. After installing sass, well convert our css to scss and compile our .sass file to a minified .css, which is what we'll use in our application. This article assumes you have a basic knowledge of CSS, some general knowledge of a scripting language like JavaScript, Php, or Python, and can enter basic commands into the command line. If you're unsure, don't worry, for senior Google is always there if you get hung up. So, let me explain our use case in a little more detail to see what benefits sass will bring us.
Use Case:
For example, sports teams or artist profiles that have specific color pallets might have a variety page elements that need to all be styled to a given "theme". For example one theme may feature a blue navigation text with a black header background and a gray body text color, and another may have orange navigation text with a blue header background and black body text color. Not just that but each of these theme settings have a variety of properties styled that require multiple versions of the same code to work properly in different platforms and browsers like linear-gradient, box-sizing, and transitions. The problem is, while duplicating these styles along with all their required vendor-prefixes by hand is possible, it's also time consuming, error prone, and hard to maintain after you do finally get it right. So, we'll walk you through getting sass installed and worked into your project . Well, the days of having to write regex patterns to find and replace 357ish occurrences of a font-size are now over - let's use SASS instead!
Get Ruby and Sass from the command line:
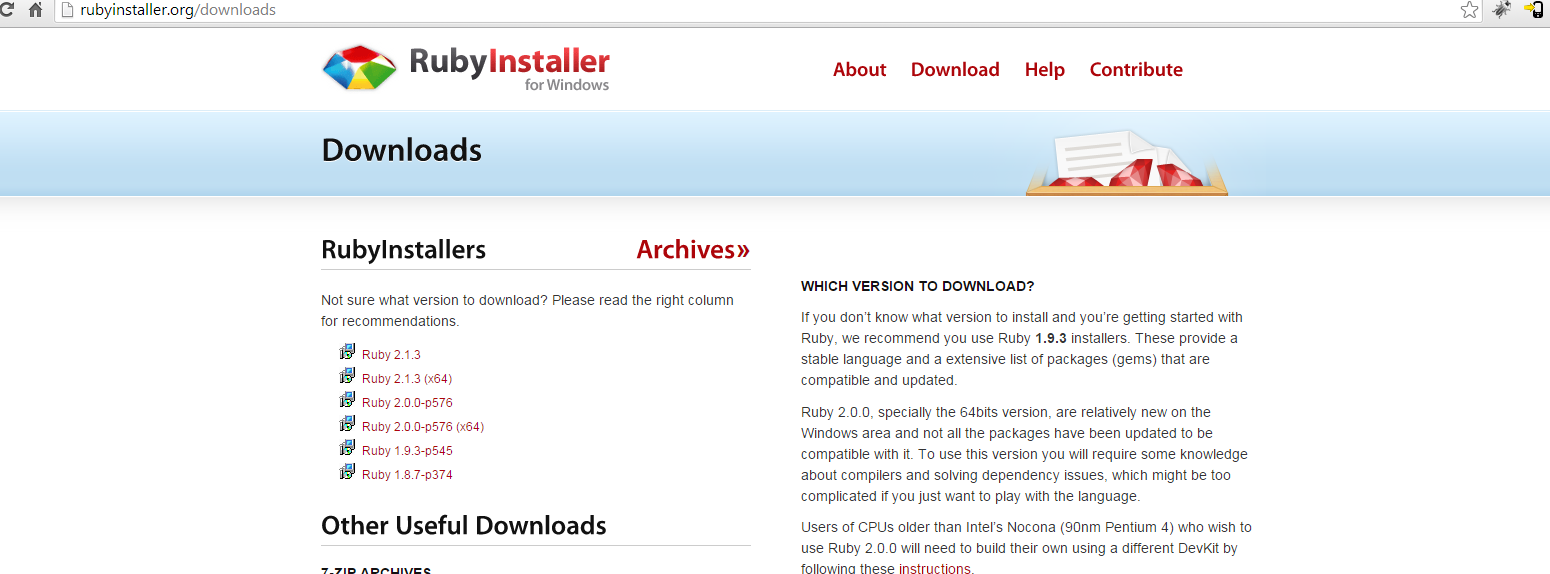
Get Ruby. If you are on a Mac, guess what? You probably already have a version of Ruby installed on your machine. Type the following command to check your version and move on. If you are on a PC, you should install it from http://rubyinstaller.org/downloads Pick the latest release (currently Ruby 2.1.5) You’ll be prompted to download an installation file. The installation is straight forward, just run the file you downloaded and be sure to check the checkbox that says “Add Ruby executables to your PATH” during the installation.
    # check which version of Ruby you have, if you don't have it then install it!
    gem -v

    # next depency is the sass library
    sass -v
    sass -?

    # if you don't have it, get it like this
sudo gem install sass |
Convert a CSS file to SCSS:
Navigate to your project directory in the terminal. Now we can convert our css file to a scss file so that we can use sass, make it better, and compile it to a minified css file for maximum performance. Since any valid CSS is also valid SASS. We can simply convert our file by changing the .css extension to .scss. Make sure you use .scss and not .sass on the extension. The .sass syntax is a deprecated syntax and is not widely used anymore. For the sake of mention, the only difference between them is .sass syntax does not delimit commands with a semi-colon and it uses indentation instead of brackets to assign scope to your selectors.
    # compile a single file
    sass --update path/to/file/name_of_file.scss

    # compile a single file in compressed format
sass --update ./path/to/file/name_of_file.scss --style compressed |
The feedback notifying you that files were created/updated (or broken!) in the terminal as you work is helpful. The css file that's output is production ready. One more thing to note before we dig into the sass syntax, when you run your --update command, you can specify different compression levels for the CSS it outputs. By adding the "--style <compression level>" option to your update command you can specify your preferred level of compression, other possible options include expanded, compact, or compressed. If you do not specify the --style option then sass will have a degree of compression in between expanded and compact by default.
Tell Sass to watch your project's working directory for changes:
There is one more crucial thing you need to know before you're off, that's using the sass task manager. It will very quickly get old having to run that update command every time you make an edit to your sass. So, next you need to run a task that will automatically compile your sass code each time you save your document. This is a huge time savor! The watch command is sass --watch <dirToWatch>
    # watch the filesystem for changes and output css in the css directory
    cd /path/to/assets/scss
sass --watch ./path/to/assets/scss:../css --style compressed |
Notice we added a colon followed by the path to where we want our css output to on compilation, this part is key as it allows you to separate your scss and css working directory. So that full command syntax look like sass --watch <dirToWatch>:<pathToOutputCssDir>
Disable sourceMappingURL From SASS Output
Its quite simple actually, check sass --help for all possible options, but to get rid of the sourceMappingURL comment that gets added to your css file output, just modify your watch or update command to use the flag --sourcemap=none.
    # watch the filesystem for changes WITHOUT including map file /*# sourceMappingURL=style.css.map */
    cd /path/to/assets/scss
sass --sourcemap=none --watch . --style compact |
That's it! You are ready to write sass and take your css to the next level. More content coming!